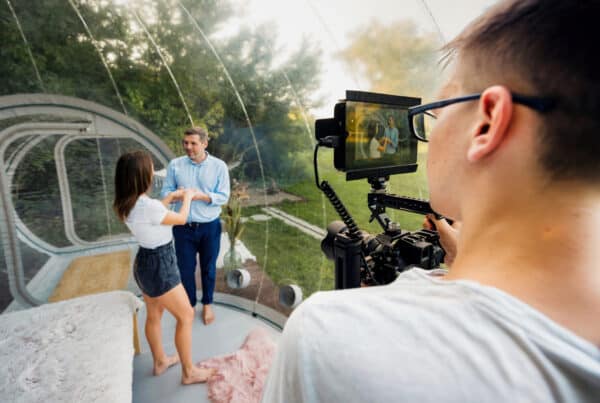
Creating a 360 virtual tour can transform the way people view and interact with spaces, whether it’s for real estate listings, educational purposes, or just showcasing a location. This guide will walk you through the process step-by-step, covering everything from the equipment you’ll need to how to share your completed tour with the world. Discover why learning to create a virtual tour could be beneficial for your business or personal brand and how it enhances viewer engagement by offering an immersive experience.
What Is a 360 Virtual Tour?
A 360 virtual tour is a simulation of a location using a sequence of videos or still photographs. It allows the viewer to move and look around the space as if they were physically present. This immersive experience is made possible through panoramic photography and multimedia elements like text, sound, and video which can be embedded to provide a richer experience.
What Equipment Do I Need to Create a Virtual Tour?
To create a 360 virtual tour, you’ll primarily need a 360 camera. Popular models like the Ricoh Theta Z1 are specifically designed to capture high-quality 360-degree images with minimal effort. Additionally, a sturdy tripod is crucial to keep your camera steady and ensure that the photos are aligned correctly, which is vital for the stitching process later on.
Choosing the Right Virtual Tour Software
Virtual tour software plays a critical role in piecing together your images and adding interactive features. Some popular options include Matterport, which is well-known for real estate tours, and Panoskin, which can integrate with Google Street View. The choice of software often depends on the features you need, such as drag-and-drop interfaces, hotspot functionality, and the ability to embed tours on various platforms.
Planning Your Virtual Tour
Before you start shooting, planning the layout and sequence of your tour is essential. Decide on the key points of interest and determine the path viewers will take as they navigate through the space. This step ensures a logical flow and helps you identify where to position the camera for each shot.
Shooting 360 Photos for Your Tour
When taking 360 photos, it’s important to ensure that each frame overlaps with the previous one to facilitate easier stitching. Using a fisheye lens on your 360 camera can capture wide-angle images, reducing the number of photos required. Always ensure good lighting to enhance the quality of the images.
Stitching Your Photos into a 360 Panorama
After shooting, the next step is to stitch the photos together using your virtual tour software. This process transforms individual images into a single, immersive panorama. Software like Ricoh Theta’s own app can automate much of this process, though manual adjustments might be necessary to align everything perfectly.
Adding Hotspots and Multimedia Elements
Hotspots are clickable areas within the tour that can display additional information or link to other scenes or external websites. Incorporating multimedia elements such as background music, narration, and informational text enhances the viewer’s experience and provides more context to the space being showcased.
Embedding the Tour on Your Website or Real Estate Listing
Once your tour is ready, embedding it on your website or a real estate listing is straightforward with most virtual tour software offering an ’embed’ option. This generates an HTML code that you can copy and paste into your web page, allowing visitors to explore the tour directly from your site.
Sharing Your Virtual Tour on Social Media and Other Platforms
Promoting your virtual travel tour through social media can significantly increase its visibility. Platforms like Facebook and YouTube support 360 content, making them ideal for sharing immersive tours. Additionally, listing services such as Zillow offer specific features for embedding 3D home tours, enhancing your real estate listings.
Key Takeaways
- 360 virtual tours offer an immersive way to explore spaces remotely.
- Essential equipment includes a 360 camera and a tripod.
- Choosing the right software is crucial for stitching images and adding features.
- Effective planning and execution require careful attention to detail.
- Virtual tours can be shared widely through embedding and social media platforms.
- Choose your virtual tour provider wisely
By following these steps and tips, you can create effective and engaging 360 virtual tours that captivate and inform your audience, whether for real estate or other applications.
Unlock the potential of 360 virtual tours with our step-by-step guide for real estate and beyond.
Engage your audience with immersive, high-quality experiences. Contact us today to learn how our expert solutions can elevate your virtual presence. Reach out now and start creating captivating virtual tours!


