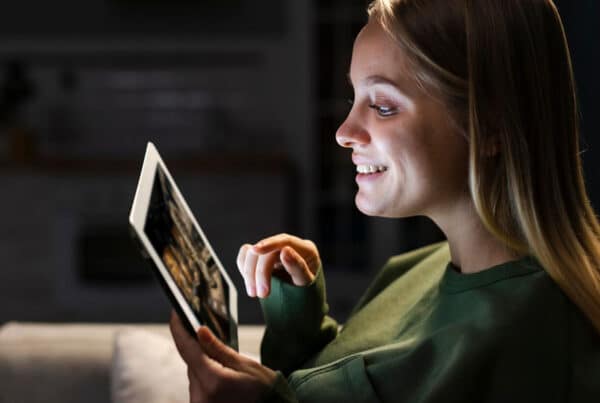
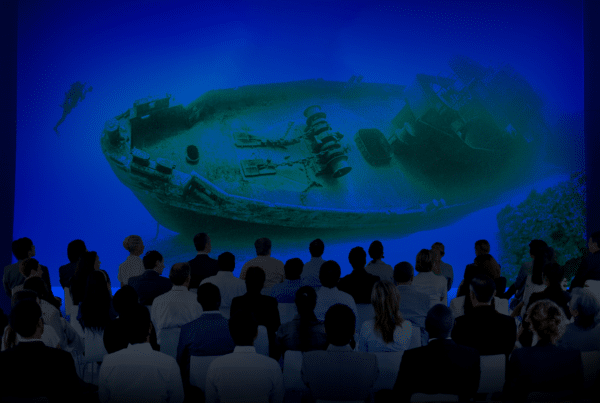
In the age of digital innovation, 360 virtual tours have become a powerful tool for businesses, educators, and marketers to provide immersive experiences. Unlike traditional photos and videos, 360 virtual tours allow viewers to explore environments interactively, creating a sense of presence and engagement that static media cannot achieve. Whether you’re showcasing real estate properties, museums, or educational institutions, creating an effective 360 virtual tour requires careful planning, precise shooting, and meticulous post-production. This guide will take you through the entire process, from planning and preparation to shooting and post-production, ensuring you create a captivating and professional virtual tour.
The first step in creating a successful 360 virtual tour is thorough planning. A well-structured plan helps streamline the production process and ensures that the final product meets your objectives.
Define Your Goals: Determine the purpose of your virtual tour. Are you showcasing a property, a tourist destination, or an educational site? Understanding your goals will guide the content and structure of your tour.
Identify Your Audience: Knowing your target audience is crucial. Consider their preferences, interests, and technological capabilities. This will influence the style, content, and technical aspects of your tour.
Choose Locations: Select the locations you want to include in your tour. Ensure they align with your goals and provide a comprehensive experience for your audience. Consider factors such as lighting, accessibility, and the relevance of each location.
Create a Budget: Establish a budget that covers all aspects of the production, including equipment, software, personnel, and post-production costs. A clear budget helps manage resources efficiently and avoid unexpected expenses.
Schedule the Shoot: Plan a detailed schedule that outlines the dates and times for shooting each location. Consider factors such as weather conditions, availability of locations, and any special events that might impact the shoot.
Storyboarding and Scripting
Storyboarding and scripting are essential steps in the planning process. They help visualize the tour and ensure a coherent narrative.
Develop a Script: Write a script that outlines the flow of the tour, including key points of interest, transitions, and any narration or voiceover. The script should align with your goals and provide a clear, engaging narrative for your audience.
Create a Storyboard: A storyboard is a visual representation of your script. It includes sketches or photos of each scene, along with notes on camera angles, lighting, and other details. The storyboard helps visualize the tour and serves as a guide during shooting.
Plan Interactivity: Decide on the interactive elements you want to include, such as hotspots, informational overlays, and navigation links. Plan their placement and content to enhance the user experience and provide valuable information.
Shooting 360 Content
Best Practices for Capturing 360 Photos and Videos
Capturing high-quality 360 photos and videos requires attention to detail and adherence to best practices.
Use the Right Equipment: Invest in a high-quality 360 camera that meets your needs. Consider factors such as resolution, image stabilization, and ease of use. Popular options include the Insta360 Pro 2, Ricoh Theta Z1, and GoPro Max.
Stabilize Your Camera: Use a tripod or monopod to keep your camera steady and avoid shaky footage. Ensure the tripod is stable and level to capture clear, consistent images.
Consider Lighting: Proper lighting is crucial for high-quality 360 content. Avoid harsh shadows and overexposure by shooting during the golden hours (early morning or late afternoon). Use portable LED lights if necessary to illuminate indoor spaces evenly.
Mind Your Positioning: Place the camera at eye level to provide a natural perspective for viewers. Avoid positioning the camera too close to walls or objects, as this can distort the image.
Capture Multiple Angles: For comprehensive coverage, capture multiple angles of each location. This provides flexibility during post-production and ensures you don’t miss any important details.
Tips for Different Environments
Different environments present unique challenges for capturing 360 content. Here are some tips for common scenarios:
Indoor Spaces: Indoor lighting can be tricky. Use additional lighting to brighten dark areas and reduce shadows. Pay attention to reflections and mirrors, as they can create unwanted artifacts in your images.
Outdoor Locations: Weather conditions can significantly impact your shoot. Plan for good weather and avoid shooting in harsh sunlight or adverse conditions. Use ND filters to manage exposure in bright environments.
Crowded Areas: Capturing 360 content in crowded areas can be challenging. Plan your shoot during off-peak hours to avoid crowds. If this is not possible, use editing techniques to remove unwanted people from the final images.
Small Spaces: In tight or confined spaces, careful camera placement is crucial to avoid distortion. Use a monopod to position the camera in areas where a tripod won’t fit.
Post-Production
Editing and Stitching 360 Content
Post-production is where your 360 content comes to life. This process involves stitching images or videos, editing for quality, and adding interactive elements.
Stitching Images and Videos: Use specialized software to stitch the images or videos captured by your 360 camera. Popular options include PTGui, Autopano Giga, and the software provided by your camera manufacturer. Ensure the stitching is seamless and free of visible lines or artifacts.
Editing for Quality: Use photo or video editing software to enhance the quality of your 360 content. Adjust brightness, contrast, and saturation to achieve a balanced look. Remove any unwanted elements or imperfections, such as dust spots or lens flares.
Color Correction: Consistent color is essential for a professional-looking tour. Use color correction tools to ensure all scenes have a uniform color balance and match the intended look and feel of your tour.
Audio Editing: If your tour includes audio, ensure it is clear and well-mixed. Remove background noise and balance the levels of narration, music, and ambient sounds.
Adding Interactive Elements
Interactive elements enhance the user experience and provide additional information. Here are some key interactive features to consider:
Hotspots: Hotspots are clickable areas within the tour that provide additional information or navigation. Use hotspots to highlight points of interest, provide detailed descriptions, or link to external resources.
Navigation Links: Allow users to navigate through the tour using interactive links or buttons. This can include directional arrows, thumbnails, or a map interface.
Informational Overlays: Add informational overlays that provide context and details about specific locations or features. These can include text, images, videos, and audio.
Multimedia Elements: Enhance your tour with multimedia elements such as background music, narration, and embedded videos. These elements add depth and engagement to the tour.
Virtual Reality (VR) Integration: For an immersive experience, consider integrating your tour with VR. Ensure your content is compatible with VR headsets and provide users with the option to view the tour in VR mode.
Summary and Key Takeaways
Summary
Creating a 360 virtual tour involves several key steps: planning and preparation, shooting high-quality content, and post-production editing. Thorough planning includes defining your goals, identifying your audience, choosing locations, creating a budget, and scheduling the shoot. Storyboarding and scripting help visualize the tour and ensure a coherent narrative. Capturing high-quality 360 photos and videos requires the right equipment, proper lighting, and careful positioning. Post-production involves stitching images or videos, editing for quality, and adding interactive elements to enhance the user experience.
Key Takeaways
Thorough Planning: Define your goals, identify your audience, choose locations, create a budget, and schedule the shoot for a successful tour.
Storyboarding and Scripting: Develop a script and storyboard to visualize the tour and ensure a coherent narrative.
Best Practices for Shooting: Use high-quality equipment, stabilize your camera, consider lighting, and capture multiple angles for high-quality content.
Editing and Stitching: Use specialized software to stitch images or videos, edit for quality, and ensure consistent color correction.
Interactive Elements: Enhance the tour with hotspots, navigation links, informational overlays, multimedia elements, and VR integration.
Conclusion
Creating a 360 virtual tour is a complex but rewarding process that provides immersive and engaging experiences for viewers. By following best practices for planning, shooting, and post-production, you can create professional-quality virtual tours that captivate your audience. As technology continues to evolve, the possibilities for 360 virtual tours will only expand, offering new opportunities for businesses, educators, and marketers to connect with their audiences in innovative ways.
Elevate your business with our comprehensive guide to creating 360 virtual tours.
Engage your audience with immersive experiences that stand out. Contact us today to learn how our expert solutions can transform your virtual presence. Reach out now and start creating unforgettable 360 virtual tours that captivate and convert!
Bring your spaces to life with immersive 360 virtual tours! Engage audiences with interactive, high-quality experiences for real estate, tourism, museum and more. Our comprehensive guide walks you through the process step by step. Contact us today to learn how to create stunning 360 virtual tours for your business!