Introduction
In the world of projection technology, image rectification and stitching are crucial techniques that enhance the quality and impact of visual displays. Whether you’re setting up a home theater, organizing a professional presentation, or creating a large-scale immersive environment, mastering these techniques can make a significant difference. By aligning and adjusting images to correct distortions (rectification) and seamlessly combining multiple images (stitching), you can achieve stunning visual experiences that captivate audiences.
Table of Contents
ToggleUnderstanding Image Rectification and Stitching
Definition and Purpose
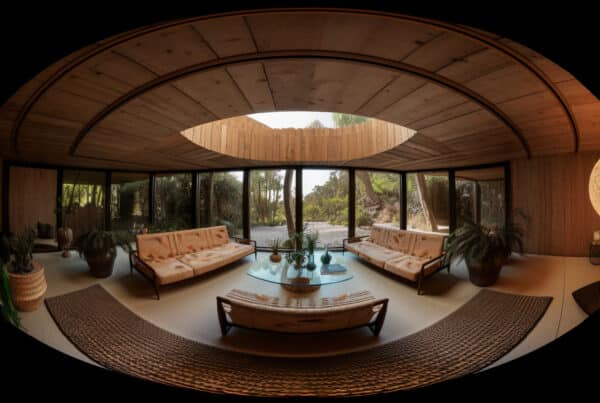
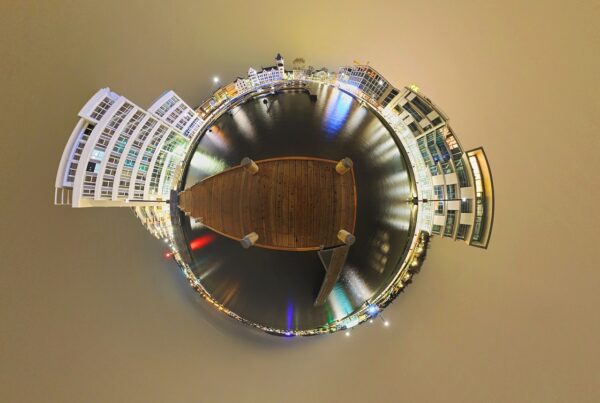
Image Rectification involves aligning and adjusting images to correct any distortions that may occur during projection. This ensures that the projected image appears as intended, without any warping or skewing. Image Stitching, on the other hand, is the process of combining multiple images to create a seamless, unified display. This is particularly useful in setups involving multiple projectors, where a single cohesive image is desired.
Applications
These techniques are widely used in various applications, from immersive displays and event setups to multi-projector installations. In home theaters, they enhance the viewing experience by ensuring high-quality visuals. In professional settings, they are essential for presentations and exhibitions where precision and clarity are paramount. Large-scale events, such as concerts and art installations, also rely on these techniques to create impactful visual narratives.
Key Techniques in Image Rectification for Projectors
Keystone Correction
Keystone correction is a common method used to adjust the image when the projector is not aligned perpendicularly to the screen. While digital keystone correction can be convenient, excessive use can degrade image quality. It’s often better to physically adjust the projector’s placement to minimize keystone distortion. This might involve repositioning the projector or adjusting its height and angle to achieve a more direct alignment with the screen.
Warping and Geometry Correction
Warping is a technique used to adjust images for projection onto curved or irregular surfaces. By manipulating the image geometry, you can ensure that it appears correctly on non-flat surfaces. Manual geometry correction involves adjusting the projector’s settings or using specialized software to tweak the image until it fits the desired shape accurately.
Homography Transformation
Homography transformation is a more advanced technique used for projecting images onto uneven surfaces or non-planar projections. By applying mathematical transformations, you can map the image to fit complex surfaces, ensuring that it appears correctly from the viewer’s perspective. This technique is particularly useful in architectural projections and art installations.
Essential Steps in Image Stitching for Projectors
Choosing the Right Software
Selecting the right software is crucial for successful image stitching. Popular options include tools like PTGui, AutoStitch, and projector-specific software that offer features such as automatic alignment and blending. When choosing software, consider its capabilities, ease of use, and compatibility with your projector setup.
Camera Calibration and Alignment
Calibration is essential for achieving consistent alignment between projectors. This involves adjusting the angles and distances of the projectors to ensure that the images overlap correctly. Proper calibration minimizes discrepancies and ensures a seamless stitch. It’s important to regularly check and adjust the calibration as needed, especially in dynamic environments.
Blending and Edge Blending Techniques
Edge blending is the process of adjusting the overlapping areas of images to minimize visible seams. This involves fine-tuning the brightness and contrast of the projections to create a uniform appearance across the entire display. Techniques such as feathering the edges and using gradient masks can help achieve smooth transitions between images.
Optimizing Projector Image Quality
Brightness and Contrast Adjustments
Setting the right brightness and contrast is crucial for optimal image quality. In dark environments, lower brightness settings can prevent eye strain, while brighter settings are necessary for well-lit areas. Adjusting contrast helps enhance image clarity and detail, ensuring that the visuals are sharp and vibrant.
Resolution Matching
To avoid pixelation and ensure crisp images, it’s important to match the projector’s resolution with the source material. This involves selecting the appropriate resolution settings on both the projector and the media player, ensuring that they are compatible and optimized for the best visual output.
Maintaining Correct Projector Positioning
Proper projector positioning is key to avoiding distortions. Ensure that the projector is mounted level and stable, and aligned perpendicularly to the screen. This reduces the need for digital corrections and maintains the integrity of the projected image.
Common Questions (“People Also Ask”)
- What is image rectification in projectors?
Image rectification involves aligning and adjusting images to correct distortions, ensuring they appear as intended. - How does edge blending work in projector setups?
Edge blending involves adjusting overlapping image areas to minimize visible seams, creating a seamless display. - Can you stitch images from different projectors?
Yes, image stitching combines images from multiple projectors to create a unified display. - What software is best for projector image stitching?
Popular options include PTGui, AutoStitch, and projector-specific tools with automatic alignment features. - How do I prevent image distortion with multiple projectors?
Proper calibration, alignment, and blending techniques help prevent distortion in multi-projector setups.
Conclusion
Mastering image rectification and stitching techniques is essential for achieving seamless, high-quality visual displays with video projectors. By experimenting with projector placement, utilizing the right software, and applying the techniques discussed, you can create captivating and immersive experiences. Whether for home theaters, professional presentations, or large-scale events, these tips will help you optimize your projector setup for the best results.


